

Simple Christmas Gifts Your Kids Can Make on the Next Rainy Afternoon
The rain is coming down, the kids are restless, and Christmas is getting closer. That combination is better than it sounds. Kids ages 8 to 18 already spend around four hours a day on screens outside of schoolwork, and a gray December afternoon is a perfect excuse to put the tablets away and turn the kitchen table into a gift workshop. Today, we’ll cover how to make a finished present that goes under the tree, and most of these suggestions use supplies you probably already have. The projects are sorted by who they’re for, and each lists what you’ll need, about how long it takes, and the right age to start.
Why a Homemade Gift Means More
Here’s something worth telling your kids first: making a gift can leave the maker even happier than the person opening it. In a study published in PLoS One, toddlers around 22 months old were happier giving treats away than receiving them, and happier still when they gave up something of their own. Researchers at Stony Brook University found that kids badly underestimate how much their gifts mean to the people who get them: in an experiment with 101 children, recipients lit up far more than the young givers expected. The clay bowl your six-year-old shrugs off as “just a bowl” is the thing a grandparent keeps on the dresser for years.
Keepsakes for Grandparents

Grandparents treasure the things money can’t buy: a handprint, a footprint, the size of a small hand one December. These only gain meaning with time.
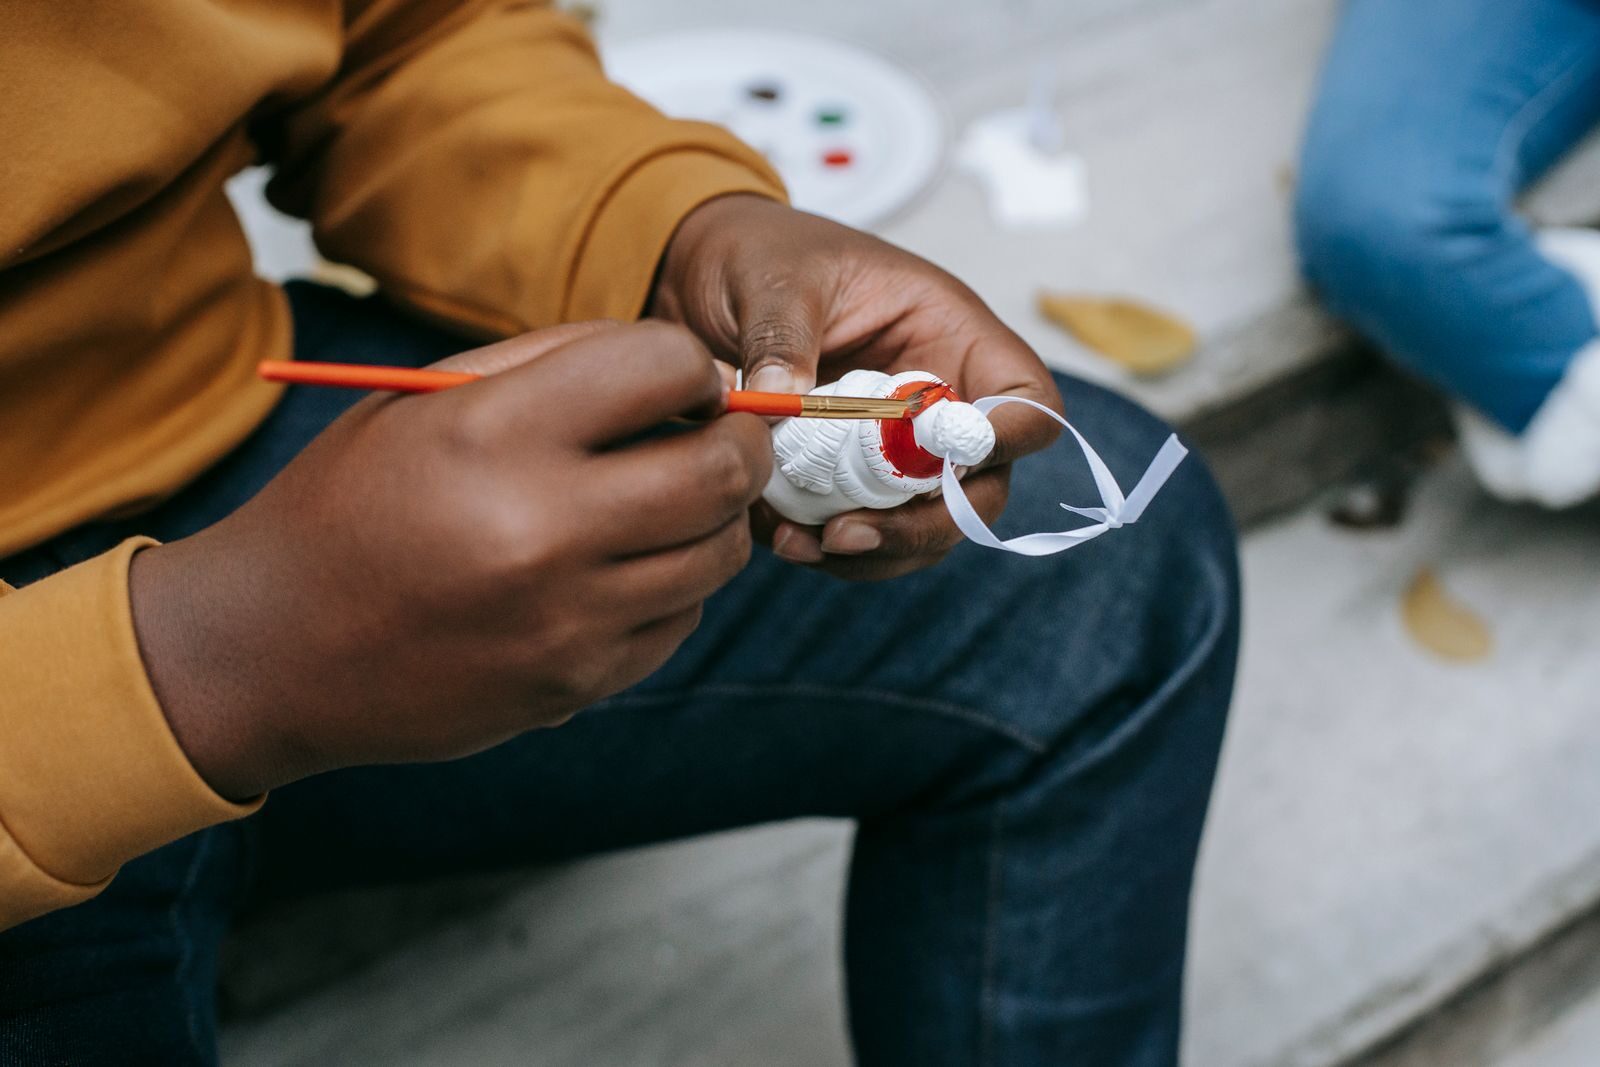
- Handprint ornament (Ages 2+ with help. 15 minutes, plus drying.) You’ll need: a clear shatterproof (plastic) ball ornament, a non-toxic acrylic paint pen, a fine marker. Have your child press a small painted handprint onto the outside of the ornament in a festive color, then add the year and their name with the marker once it dries. Use a plastic ball rather than glass so a dropped one won’t shatter, and leave the inside empty so the handprint stays the star.
- Clay footprint dish (Ages 2+ with help. 20 minutes hands-on, 1 to 3 days to dry.) You’ll need: air-dry clay, non-toxic paint, a clear sealer. Flatten a ball of clay to about half an inch thick and press a small foot gently into the center to form a shallow dish. Keeping the thickness even helps it dry without cracking. Air-dry clay needs a full day or more to harden, so this is the one to start first and finish on another day. When it’s dry, kids can paint it; seal it if it will hold rings or keys by the door. It’s a keepsake, not a dishwasher dish, so keep it away from water.
- Cardinal handprint art (Ages 3+. 15 minutes hands-on, plus paint-drying.) You’ll need: washable, skin-safe red paint, white cardstock, a black marker. Paint your child’s palm red and press it sideways onto the cardstock to make a cardinal’s body and wing. Use a paint labeled safe for skin, and wash hands before it sets. Once the red is dry, add an eye, a beak, and a little branch in marker. Framed, it looks like real art and costs next to nothing.
All that pressing and painting does more than fill an afternoon. The U.S. Department of Health and Human Services points to hands-on work like clay and drawing as how young children build the fine motor skills behind handwriting. The gift is good practice, too.
Art Gifts for the Color Lovers
- Tissue-paper luminary (Ages 4+. 20 minutes, plus drying.) You’ll need: a clean glass jar, colored tissue paper, white glue, a battery tea light. Tear the tissue into small pieces. Brush the jar with white glue thinned with water, press the pieces on, and overlap them. Let it dry, then drop in a battery tea light rather than a real flame, since the jar is covered in paper. In a dim room it glows like stained glass, a lovely gift for a grandparent’s Christmas windowsill.
- Potato-stamped tea towels (Ages 3+ for stamping. 20 minutes, 24 hours to set.) You’ll need: a plain cotton tea towel, fabric paint, a potato. An adult halves the potato and carves a simple holiday shape into the cut side, like a star, a tree, or a snowflake. Kids dip it in fabric paint and press it onto the towel. Let the paint dry overnight, then an adult sets it with an iron on the cotton setting, pressing through a thin cloth on the back for a few minutes with no steam. The iron is the grown-up’s job. It brings a little Christmas into someone’s kitchen every December.
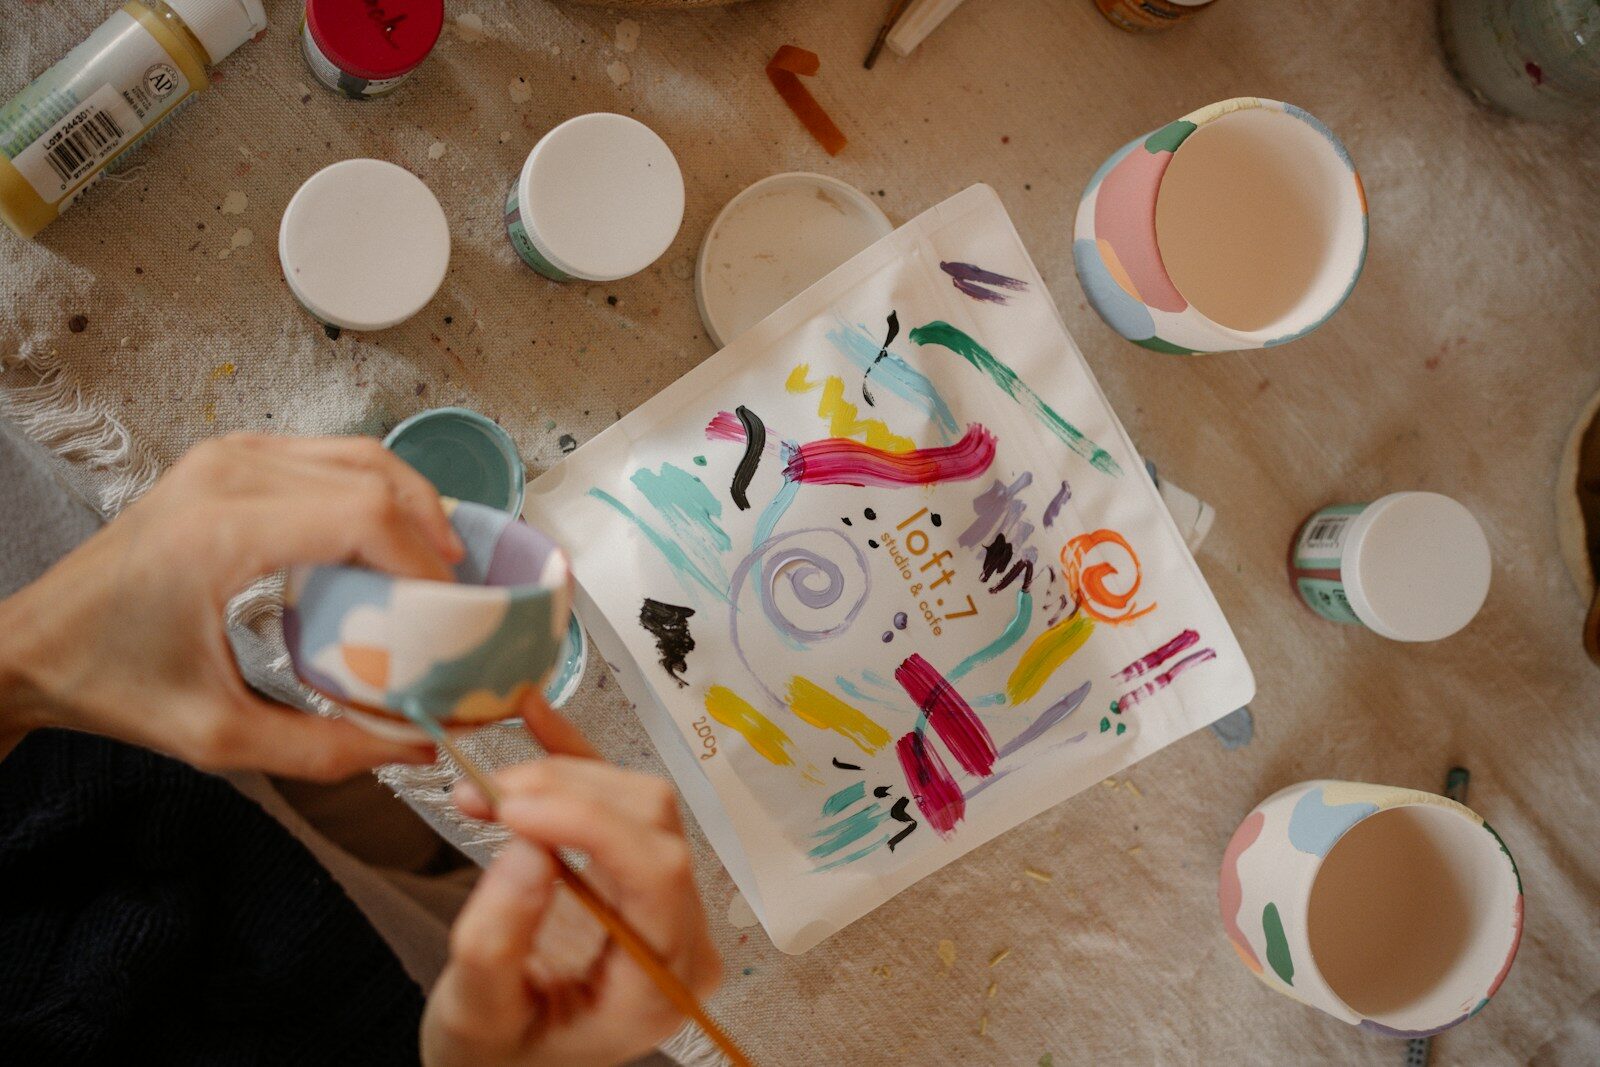
- Painted mugs (Ages 4+. 20 minutes, plus baking.) You’ll need: a plain ceramic mug, food-safe porcelain paint pens. Choose pens labeled non-toxic and food-safe, and keep all the decorating on the outside, well below the rim, so nothing the lips touch is painted. Let kids draw freely: snowflakes, a name, tiny reindeer. To set the paint, place the mug in a cold oven, heat to 350°F, bake for 30 minutes, and let it cool inside. Hand-washing keeps the design sharpest. Filled with cocoa mix, it’s a ready-made Christmas-morning present.
Put Screen Time to Good Use
Got a tween who has outgrown potato stamps? Here’s a way to turn screen time into something they can wrap. Have them describe a Christmas scene in words, like a snowy forest with glowing lanterns and red cardinals at dusk, in Adobe Firefly’s AI painting generator, then print the version they like best and frame it for Grandma. The screen does the drawing, but your kid does the imagining and the wrapping, and the framed print goes under the tree like everything else they made by hand.
That instinct to hand kids open-ended materials is a good one. Child-development researchers at the University of Delaware favor supplies that, in their words, “do more than one thing” and let kids come up with their own ideas, which is most of the fun anyway.
Edible Gifts from the Kitchen
The kitchen tier smells the best and gets eaten. An adult handles anything hot.
- Chocolate-dipped spoons (Ages 3+ for decorating. 20 minutes hands-on, 30 minutes to set.) You’ll need: sturdy wooden spoons, chocolate, toppings like crushed peppermint or mini marshmallows. An adult melts the chocolate gently, using a double boiler or the microwave in 20-second bursts with a stir between each, then lets it cool for a minute so it won’t burn small hands. Kids dip the bowl of each wooden spoon and decorate. Set them on parchment to harden, then tuck one into a cellophane bag with a tag that reads “stir into hot cocoa.” Use wooden spoons, since thin plastic can soften in warm chocolate.
- Cookie mix in a jar (Ages 4+. 20 minutes.) You’ll need: a clean 1-quart mason jar, plus the layers below. A jar gift only works if the recipe works, so here are amounts you can count on. Stir ½ teaspoon baking soda and ½ teaspoon salt into 1 cup flour for the first layer, then add ½ cup brown sugar, ½ cup white sugar, ½ cup oats, and ½ cup chocolate chips, pressing each flat as kids spoon them in. Tie a fabric circle on the lid with twine and attach a card: “Stir in 1 softened stick of butter, 1 egg, and 1 teaspoon vanilla. Bake at 350°F for 9 to 11 minutes.” It turns into an afternoon of baking down the road.
- Chocolate-dipped marshmallows (Ages 4+. 20 minutes hands-on, 30 minutes to set.) You’ll need: jumbo marshmallows, lollipop sticks, chocolate, festive toppings. Push a marshmallow onto each stick, dip it in chocolate an adult has melted and cooled slightly, and roll it in crushed candy canes or holiday sprinkles. Set them on parchment to harden, then pack them in a tissue-lined box. They look bakery-made for pennies. Keep the pointed sticks and loose marshmallows away from toddlers.
A Loose Plan for the Afternoon
A little structure keeps a rainy-day craft session from sliding into chaos:
- Pick gifts by who they’re for. Grandparents love keepsakes they can display, parents like things they’ll actually use, and cousins are happy with anything edible. Match the project to the person first.
- Shop your house first. Most of these need jars, paper, paint, flour, or chocolate, things a lot of kitchens already hold. Check the cupboard and recycling bin first; saved jars and cardboard make great free supplies.
- Start with whatever takes longest to dry. Clay dishes and painted ornaments need time, sometimes overnight, so begin those and move on to faster projects while they set.
- Set up before you start. Cover the table with newspaper or a wipeable cloth, lay everything out, and keep a damp rag and paper towels within reach. Kids stay focused, and cleanup stings less, when the mess has a boundary.
- Let kids make creative calls. A grown-up handles the hot steps, meaning the oven, the iron, and melting chocolate, while kids own the colors and designs. The wonky footprint is the part that makes it theirs.
- Wrap and label together at the end. Kraft paper, a potato stamp, and “For Grandma, from [name]” turn wrapping into part of the gift and remind your kids who they made it for.
A Few Common Questions
What’s the right age to start? Most decorating and handprint projects work from age 2 or 3 with a grown-up alongside, and the kitchen projects suit ages 4 and up. The rule that doesn’t bend: an adult handles anything hot, no matter how old the kids are. Pediatricians suggest keeping preschoolers to about an hour of screen time a day, and a craft afternoon is an easy way to fill the rest.
What if a project flops mid-craft? Roll with it. A cracked clay dish becomes a painted trinket tray, and a smudged mug just gets another layer of doodles. Working through the “that’s not what I pictured” moment is half of what makes the time worth it, and the gift still lands.
Made one of these with your kids? We’d love to see it! Share a photo with the Christmas Everyday Club community and tell us which gift was the hit this year. Half the fun is swapping ideas with families riding out the same rainy afternoons.
- Facebook0
- Twitter0
- Pinterest0
- LinkedIn0
- 0 shares